如果您为拍摄对象拍了一张很棒的照片,但背景不适合,请不要担心 - 您可以使用照片编辑程序(例如),通过几个步骤轻松地将背景更改为您想要的任何内容Adobe Lightroom 或 Photoshop。
在本 Photoshop 教程中,我们将向您展示如何替换背景图像,包括如何选择主题以及如何与原始图像匹配颜色。
如何使用 Photoshop 更改背景图像
在 Adobe Photoshop CC 中,有几个步骤可实现 替换背景图像 。首先,您需要导入原始图像和新的背景图像。然后,您需要选择并遮盖您的主题,减去背景,并将主题覆盖在新背景上。最后,您可以添加最后的修饰,例如颜色以匹配两个图像。
当然,使用具有明确定义的主题和背景的图像(例如我们选择用来说明该过程的图像)会更容易。如果有多个主题,或者有前景或背景不清晰,则更难以创建令人信服的图像。
除此之外,以下是更改图像背景的方法。
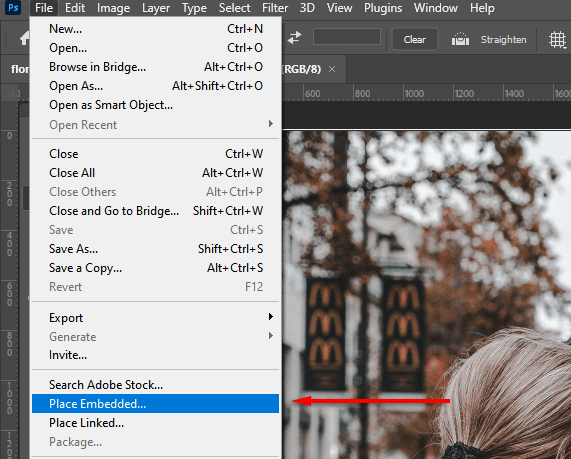
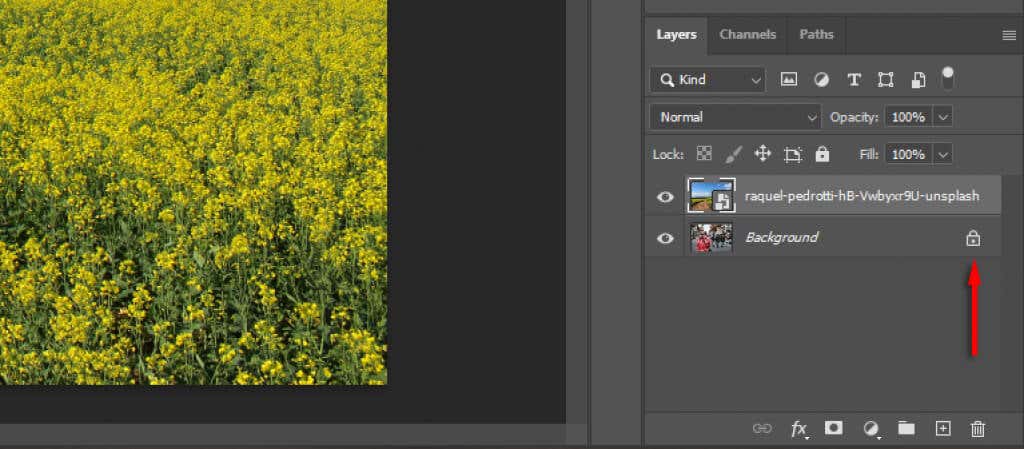
第 1 步:导入新背景图片
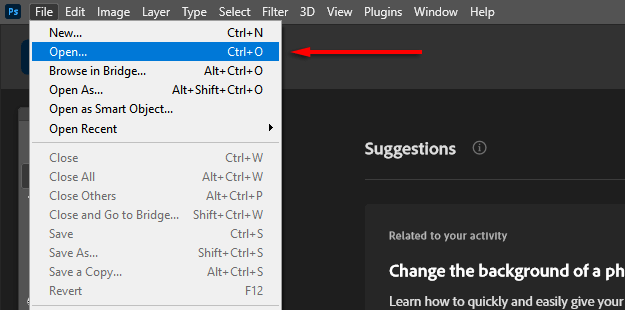
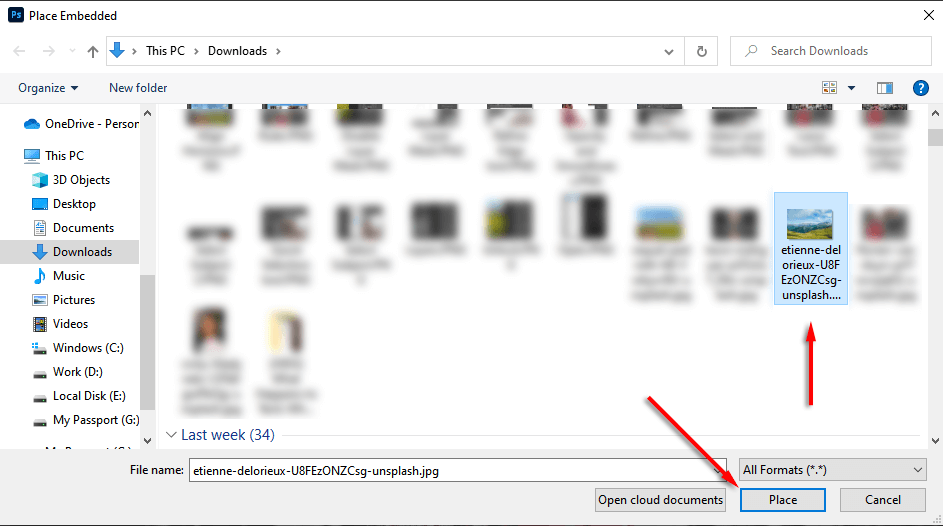
第一步是打开图像并导入新背景。这里的技巧是使用尽可能适合主题视角的背景图像。
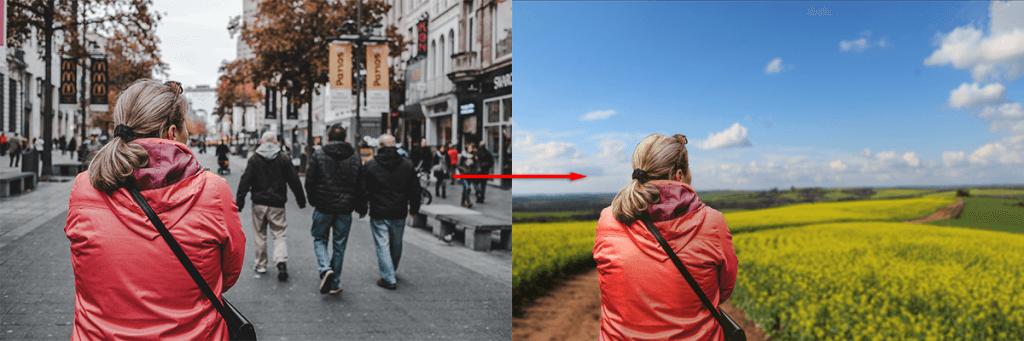
在我们的示例中,一位女士正在眺望远方,她的上半身是可见的。选择前景过多的图像与它不匹配,因此我们选择了具有相似视角的远处风景作为新背景。
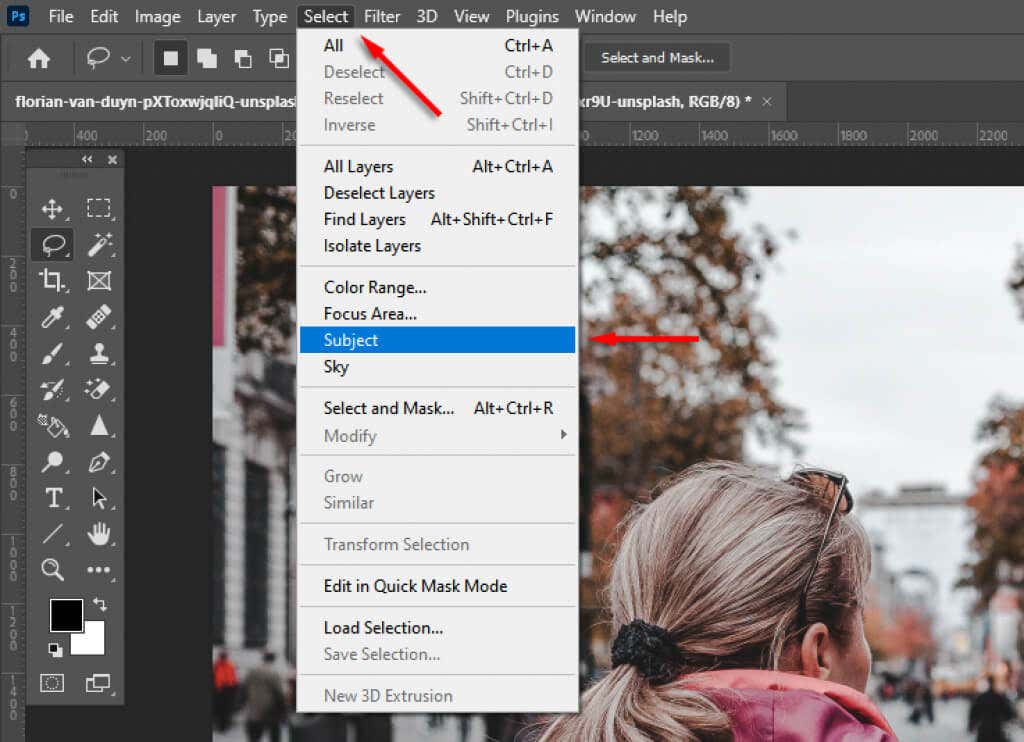
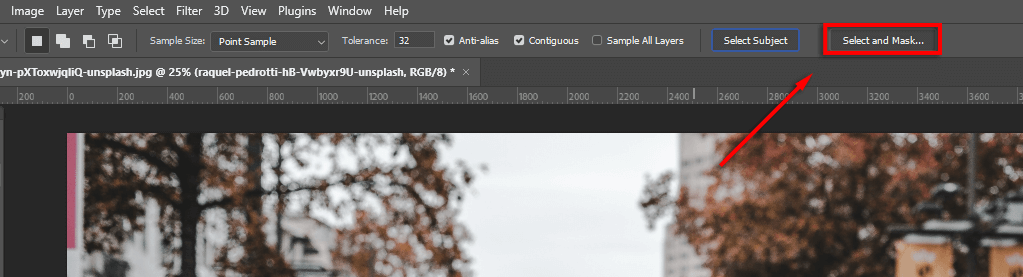
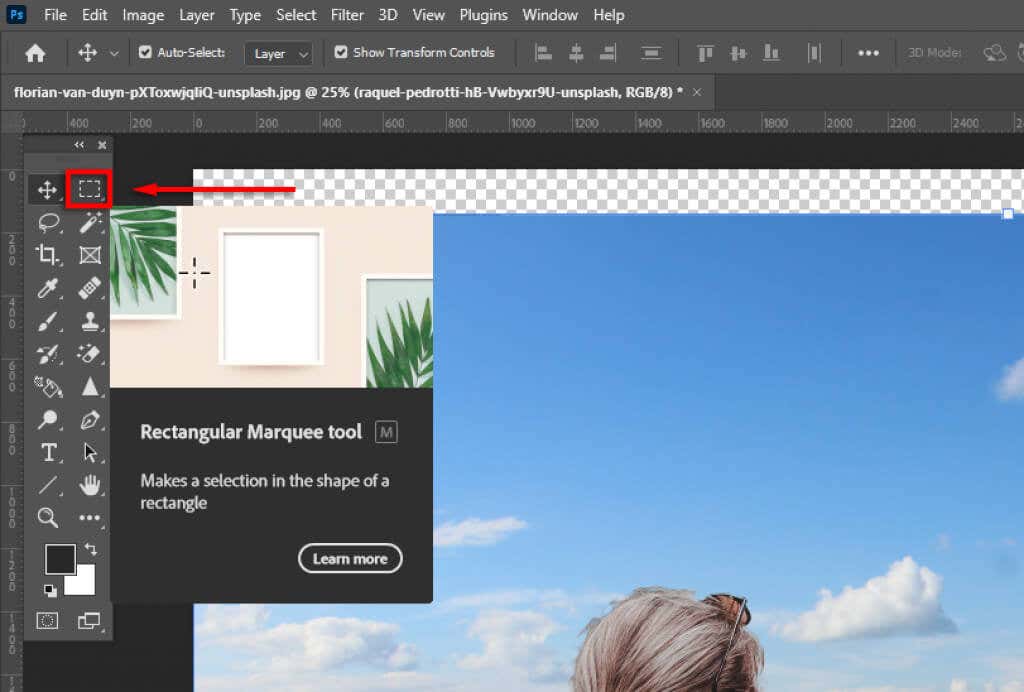
第 2 步:选择并遮盖主题
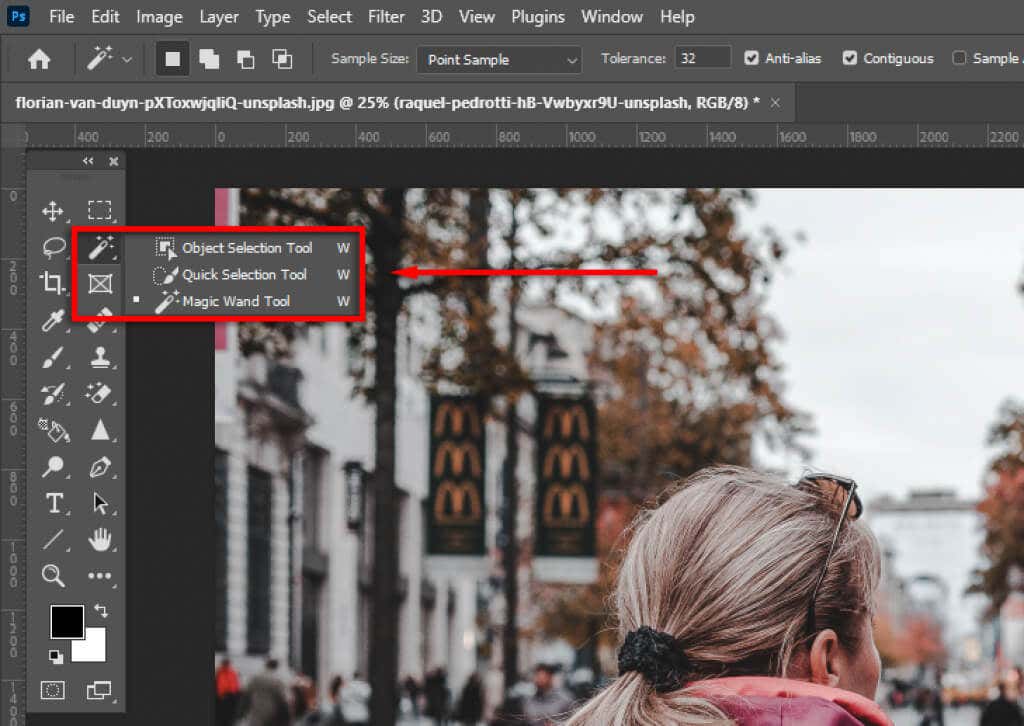
创建选择的方法有多种。如果您有明确的主题,Adobe Photoshop 的自动主题选择工具是最容易使用的。不过,您也可以结合使用快速选择工具、魔棒工具和套索工具来选择主题。
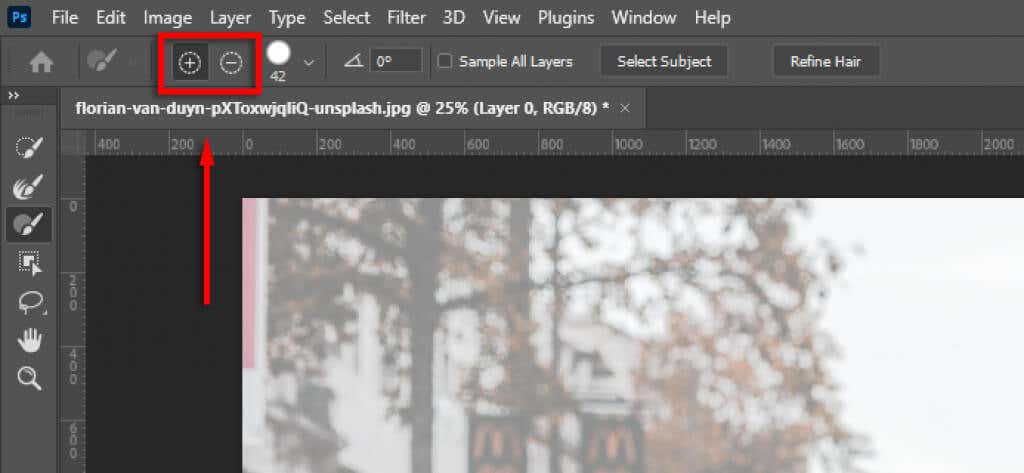
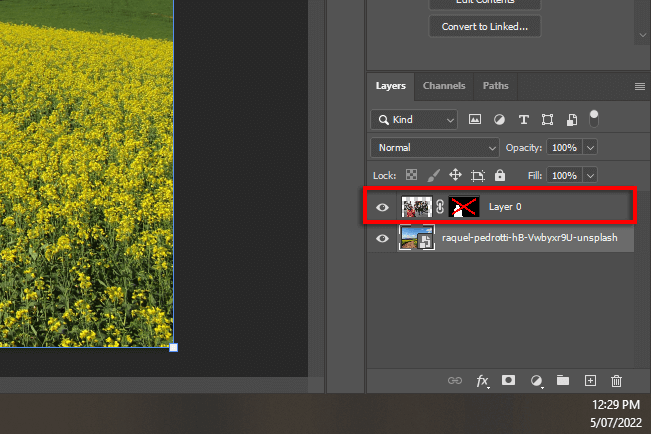
选择您的主题

细化选择
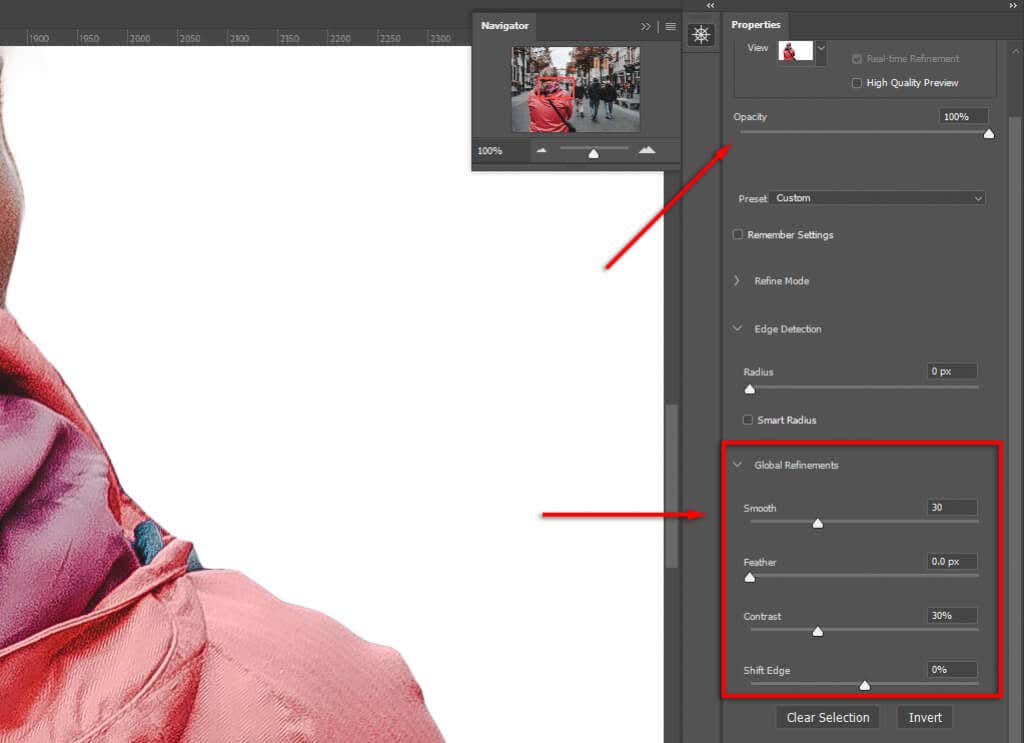
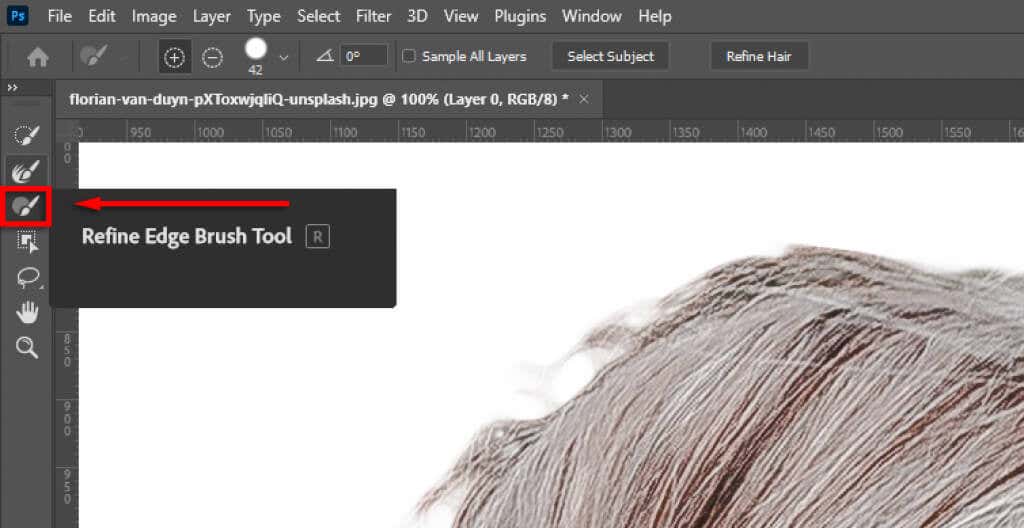
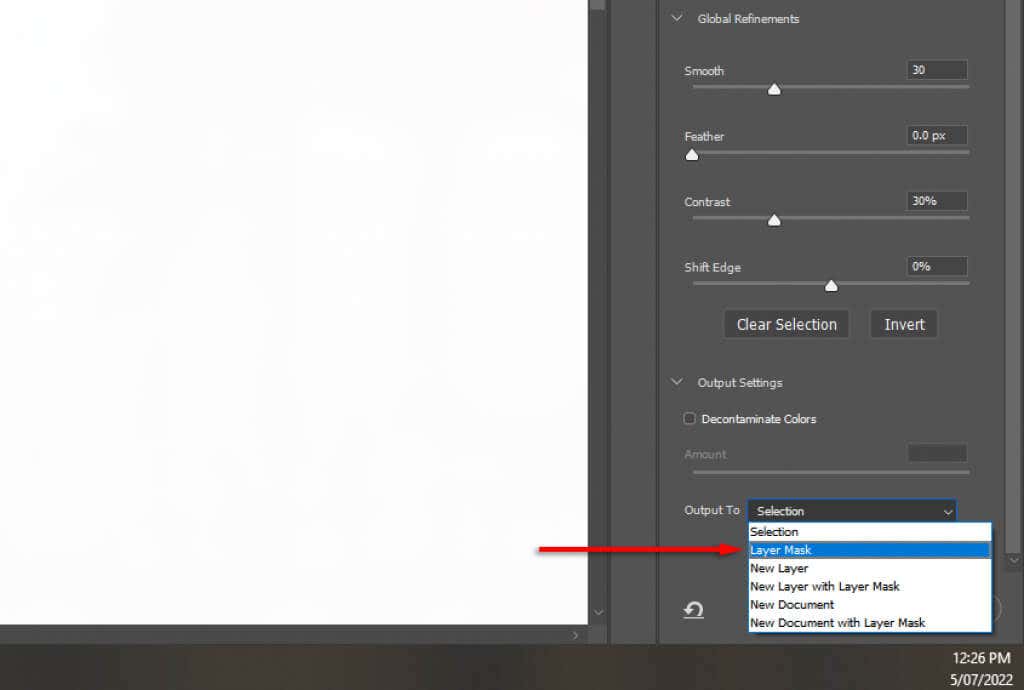
注意:您花在优化选择上的时间越多,您的结果就越好。放大并密切注意 Photoshop 意外添加或删除的任何区域。您以后随时可以通过双击遮罩层来调整您的选择。
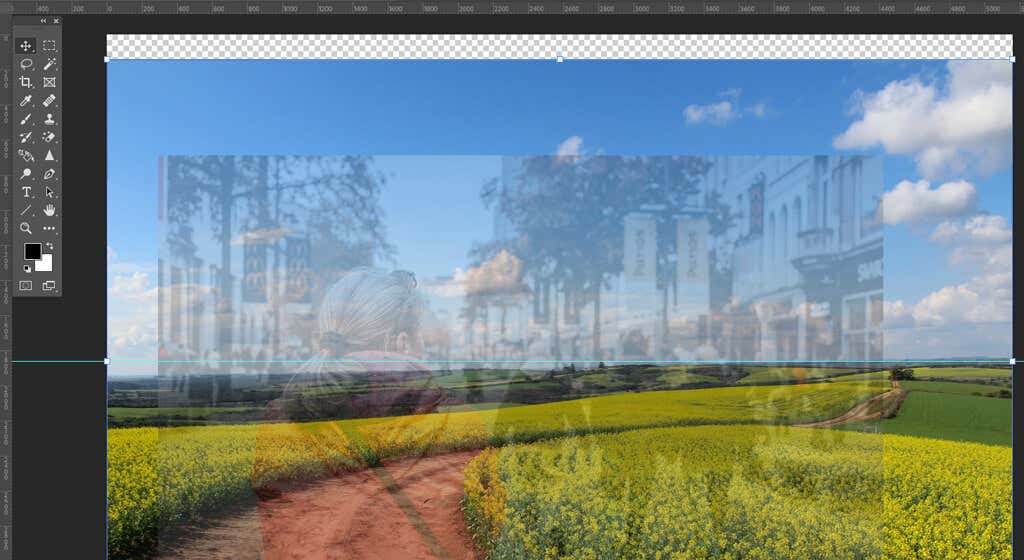
在构图中定位主题
现在,只需单击主题并将其拖动到您希望它们出现在最终图像中的位置即可。这完全取决于偏好。
第 3 步:匹配视角
将原始照片的视角与新背景相匹配将有助于使图像看起来更加真实。为此,您可以使用标尺工具来标记地平线在原始图像中的位置,并将新背景对齐,以便其处于大致相同的位置。

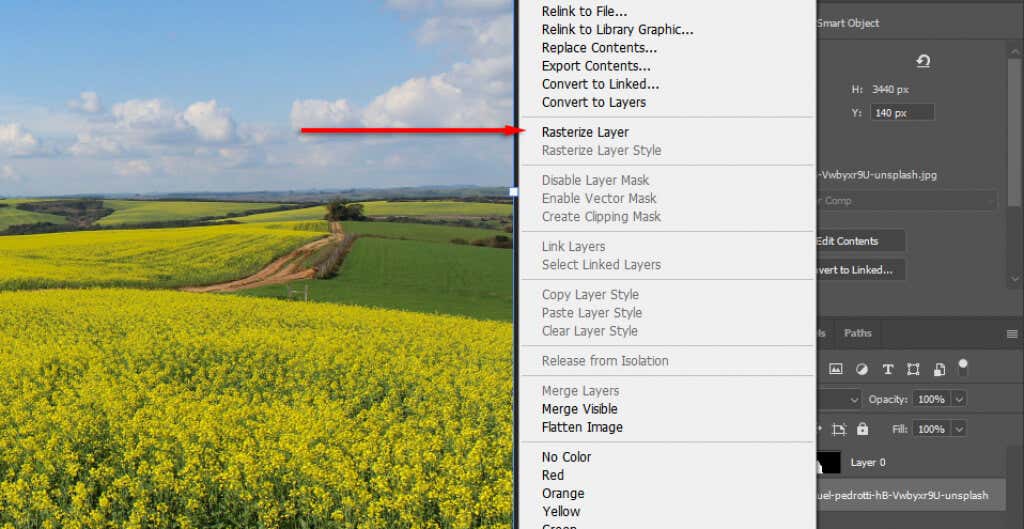
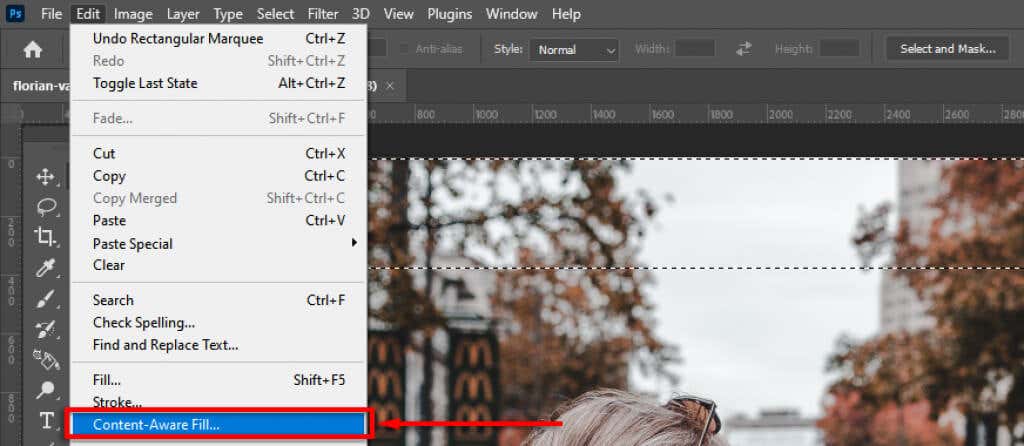
第 4 步:内容感知填充
如果您已到达图像边缘并引入了 透明背景 ,则可以使用内容识别填充工具在该区域创建背景。如果您的背景没有透明像素,则可以跳过此步骤。
填充透明区域:
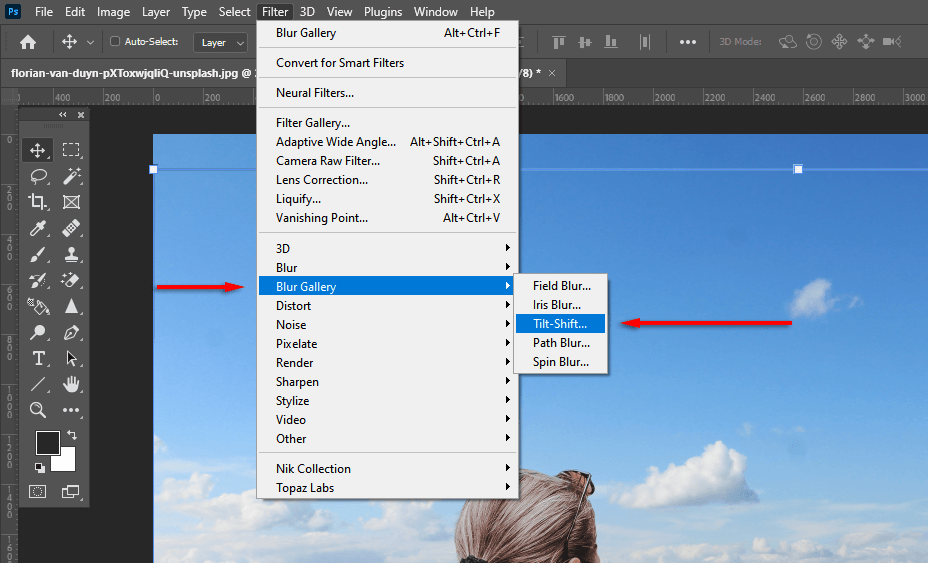
第 4 步:匹配景深
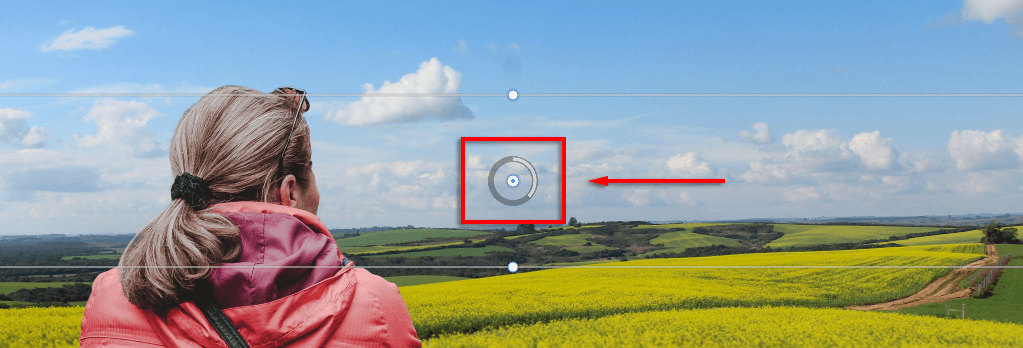
下一步是匹配原始图像的景深。为此,您必须了解相机的工作原理以及图像的哪些部分应该对焦。在我们的示例中,前景中的女性处于焦点中,这意味着远处的所有事物都将失焦。距离越远,焦点就越模糊。
要添加此效果,我们将为背景图像引入模糊效果 :

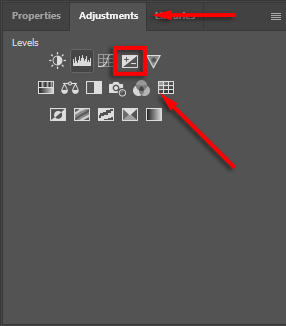
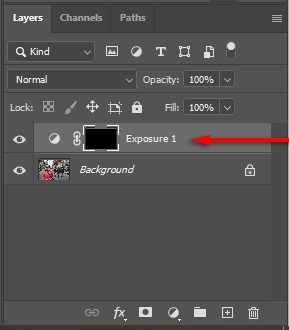
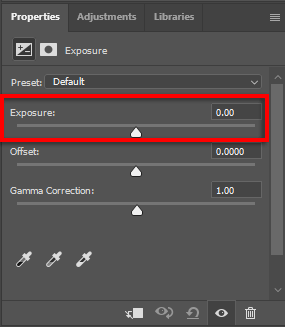
第 5 步:匹配灯光
您可能会注意到您的主题和新背景具有不同的光源。这可能很难调整,因此最好选择具有相似光源的背景。在我们的示例中,您可以在背景中看到光源位于左侧(阴影落在右侧)。然而,在拍摄对象中,光源更多的是自上而下。
这可以通过引入光照和阴影来调整。为此:
第 5 步:对图像进行颜色匹配
此时,您的主题应该与新背景完美对齐。但是,您会注意到这两个图像具有不同的色调。要解决此问题,您可能需要:.
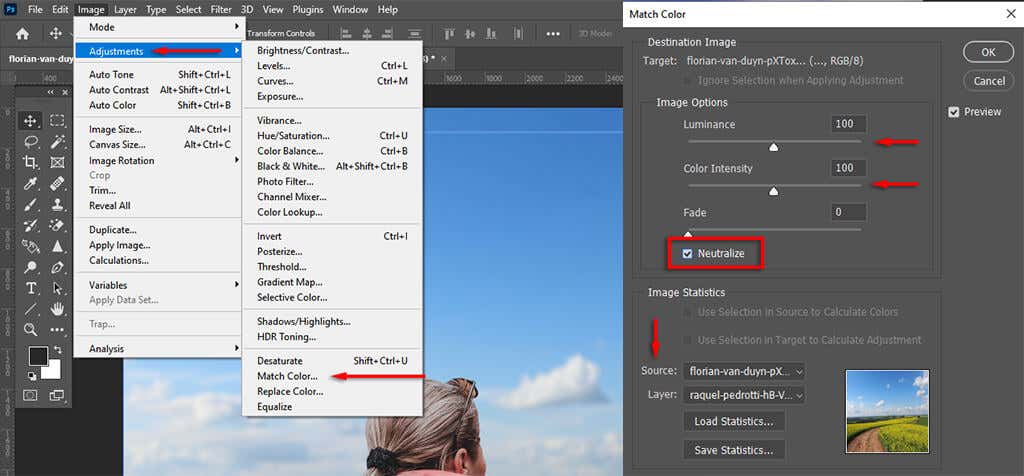
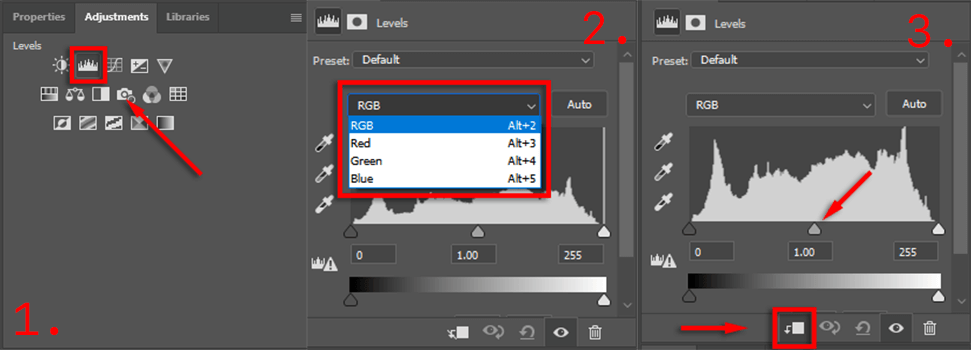
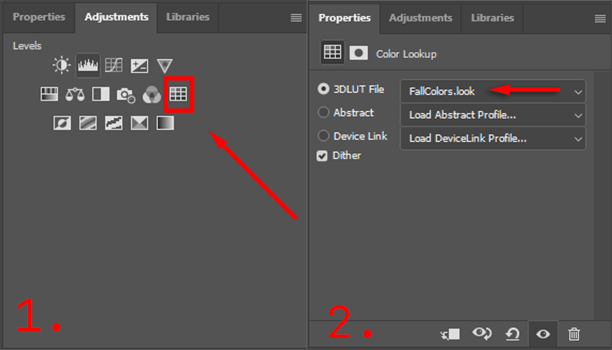
这需要一些尝试才能使其完美,但是您越关注细节,您的图像最终看起来就会越好。
导出最终图像
就是这样。只需单击文件,然后另存为即可将最终图像保存为 JPEG。如您所见,背景去除相对简单,但需要对细节有敏锐的洞察力才能使其完美 - 所以不要放弃!
.